Friday, October 28, 2011

"Finish it up Friday" Diaper Bag Completed


I completed this diaper bag last evening, just in time for Finish it up Friday.
Thanks Amanda Jean for the challenge of completing projects!!!


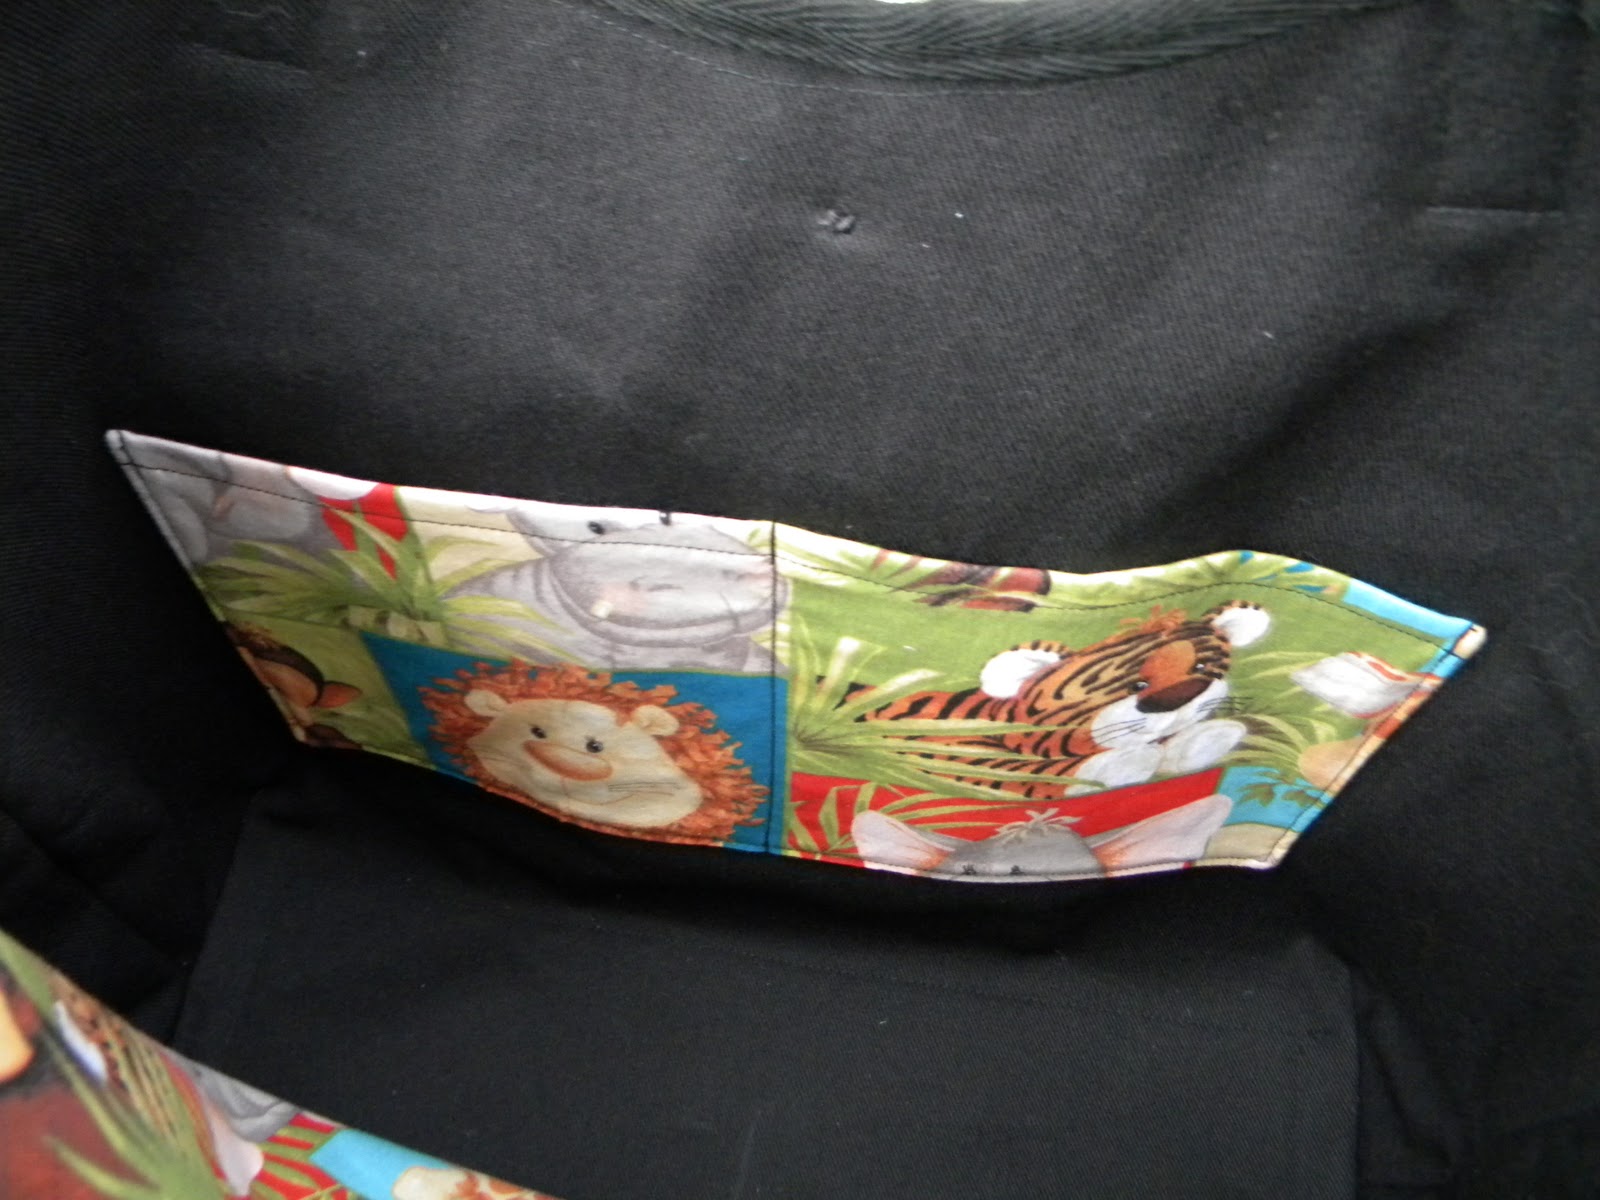
The diaper bag features pleated pockets across the front.  
This style pocket was a new challenge for me, I'll be using them more often!


Inside there are 2 slip pockets on one side and....


a large pocket which is more like a divider on the other side.


I used a simple button and loop closure.

I hope the mother-to-be finds this bag useful.

Have a wonderful weekend!  
We're supposed to get 4-10 inches of snow....not ready for that yet!
Carolyn

Thursday, October 27, 2011

"Finish it up Friday" Sneak Peak

Thanks to the inspiration of Amanda Jean for posting "Finish it up Friday" links on her blog, I'm hoping to have this project finished by tomorrow.


Now I need to get off the computer and move to the sewing machine...teehee!

Check back tomorrow for the finished project!  
Any guesses what it is?

Carolyn

Friday, October 21, 2011

Vintage Sheet Comforter


Recently I completed this comforter for our daughter, Andrea.  She wanted a warm, fluffy bed covering for winter not a quilt.  I cut 6 vintage sheets, purchased at local thrift stores, into 6" squares and assembled them in a Trip Around The World pattern.


The design doesn't make a big impact but it's the blend from one fabric to another that I appreciate the most.  It's like a field of wildflowers :)  This will brighten up those winter blues!  I also used 2 vintage sheets for the back of the comforter.


The difference between a quilt and a comforter is the way it's constructed.  Both have a front panel, a back panel and something sandwiched in the middle (batting, flannel, wadding, a blanket, etc.). The layers of a quilt are stitched together by hand or machine with thread.  A comforter is tied or knotted together with yarn or crochet thread and usually has a thicker batting.  I had a challenge with trying to knot this comforter.  I'm not sure if it was the extra thick batting I used, or the yarn, or the needle, or just me, but I could not get the threaded needle to go through all the layers.  So I found another way....


I sewed small x's at the intersections of the blocks where I was going to tie the knots.  It serves the same purpose just no fuzzy threads.


From this picture you can get an idea how thick this comforter is....it is so cushy and comfy.  And by using the vintage sheets, it already feels soft and well loved.


Just had to hang the new comforter on the clothes line for a few pictures too.  Now if there was just snow on the ground this picture would be perfect, but I'm not wishing for the white stuff yet!


Well, that's one more thing crossed off my to-do list....seems like every time I cross something off I add 2 more items....at least I'll never be bored.....teehee.  I still have lots of partial and some full vintage sheets  leftover, anyone interested in trying a new project just let me know!

Have a great weekend!
Carolyn

Tuesday, October 18, 2011

The Vintage Sheet project is completed but.....

...I can't show you the finished product until Friday, after it has been given away.


This is what is leftover after using parts of 8 vintage sheets.  Either I need to get busy with more vintage sheet projects or find a friend that can use them.  Any takers?

Carolyn

Sunday, October 16, 2011

Birthday and Retreat Goodies


Recently I found an interesting piece of fabric at a local thrift store. 2 yards at $2/yard, not a steal, eBay has it for $3 a yard but I didn't have to pay shipping.   After on-line research, I found that this sturdy camo fabric is used by hunters to make blinds in the woods and for hunting clothes.


Of couse I had to make a bag, a Super Sized Tote to be exact, and I thought it was the perfect birthday present for my mountain loving sister.

I added a feminine touch with the addition of a purple (her favorite color) monogram.


A buckle was used as a weight for the tab/flap closure.  The inside features a large divider and 2 slip pockets.


As a thank-you gift, I made this across the body bag for my Aunt who hosted my sister and me for a quilting/sewing retreat this month.  I made her a bag this style in the past, so I thought she may need a new one.  The stripes go different directions on each side....nothing fancy, just a simple design element.  She loved the bag!


And lastly as a little gift for the retreat crew, I made these little fobs featuring thrift store thimbles, beads from my stash and scissor charms purchased at JoAnn Fabrics.  I use the turquoise one as a zipper pull on my new purse.  They could also be attached to a key ring or strap ring on a bag.


We had a great retreat....unfortunately one of my sisters got the flu so didn't make it, but we are hoping to get together again to sew!!!  We did a lot of sewing and chatting, a perfect way to reconnect with the skills passed down through generations....Thank You Grandma H. and Mother - we love and miss you both!  And Thank You Aunt Louise and Carlene for helping to start a new tradition :)

Love and Hugs, 
Carolyn 

p.s.  Janice loved the "birthday" bag, I finally got to give it to her yesterday.

Tuesday, October 11, 2011

Free Motion Quilting

Over the past few years, I have enjoyed the challenge of Free Motion Quilting (FMQ). The internet has been my main source of instruction and inspiration. FMQ takes lots of practice, but I think of it as doodling with fabric, machine and thread, instead of paper and pen.  It's just plain fun to me!!!

These pictures are a few samples of my FMQ work.


Now, thanks to a Amanda Jean at Crazy Mom Quilts, for posting a link to a great resource for free motion quilting, Christina at A Few Scraps.  I'm excited to try some of Christina's designs....if you too are interested in Free Motion Quilting, check out these great blogs.

Happy stitching!!!
Carolyn


Monday, October 10, 2011

Vintage Sheet Collection becomes ?????

Over the past few months,
I have been collecting vintage sheets from local thrift stores.
I finally have enough to start a new project.


Here's a sneak peak....


I'm hoping to finish the project and show pictures soon!


Hope you had a great weekend and are enjoying beautiful autumn weather!
Carolyn

Friday, October 7, 2011

Refinished / repurposed furniture project

Today, Greg and I just completed refinishing this pine corner cupboard. 
It sits next to our tv and will hold dvd's, etc.  I'm tired of messy, open shelves.
The cabinet was a purchased at a local Amish used furniture store.
The owner goes to auctions and buy furniture, etc. to resell.


I tried to get an aged look. 
After a light sanding (Greg's part), I painted the cabinet antique white.
Then I added black paint to a glaze base,
brushed it on and wiped it off until I got the affect I wanted.
....we really like the finished project!


We spray painted the brass colored hardware in hammered dark gray.
Greg also did all the tearing apart and reassembling.


I forgot to take a before picture, this is the side of the drawer,
the only part of the cabinet I didn't paint. 
So you can get an idea of the original cabinet color.


I do like this look but I wouldn't want all my furniture like this. 
Besides it's a lot of work, now back to sewing projects :)
So what you do think?

Thanks for stopping by....
Carolyn

Summer of Sewing, bag edition part 2

 Let's continue this "crazy bag" ride.... A friend from church requested a bag. My fabric selections are getting slim but I ca...